To view the IP address on a Windows 10 or Windows 11 computer, follow these steps:
- Click on the Start button or press the Windows key on your keyboard.
- Type "cmd" in the search bar and press Enter.
- Type "ipconfig" in the Command Prompt and press Enter.
- Look for the "IPv4 Address" or "IP Address" field under the Ethernet or Wi-Fi adapter. This is the IP address of your computer on the network.
Alternatively, you can also view the IP address by:
- Right-clicking on the network icon in the taskbar and selecting "Open Network and Sharing Center."
- Click on "Change adapter settings."
- Right-click on the Ethernet or Wi-Fi adapter and select "Status."
- Click on "Details" and look for the "IPv4 Address" or "IP Address" field.
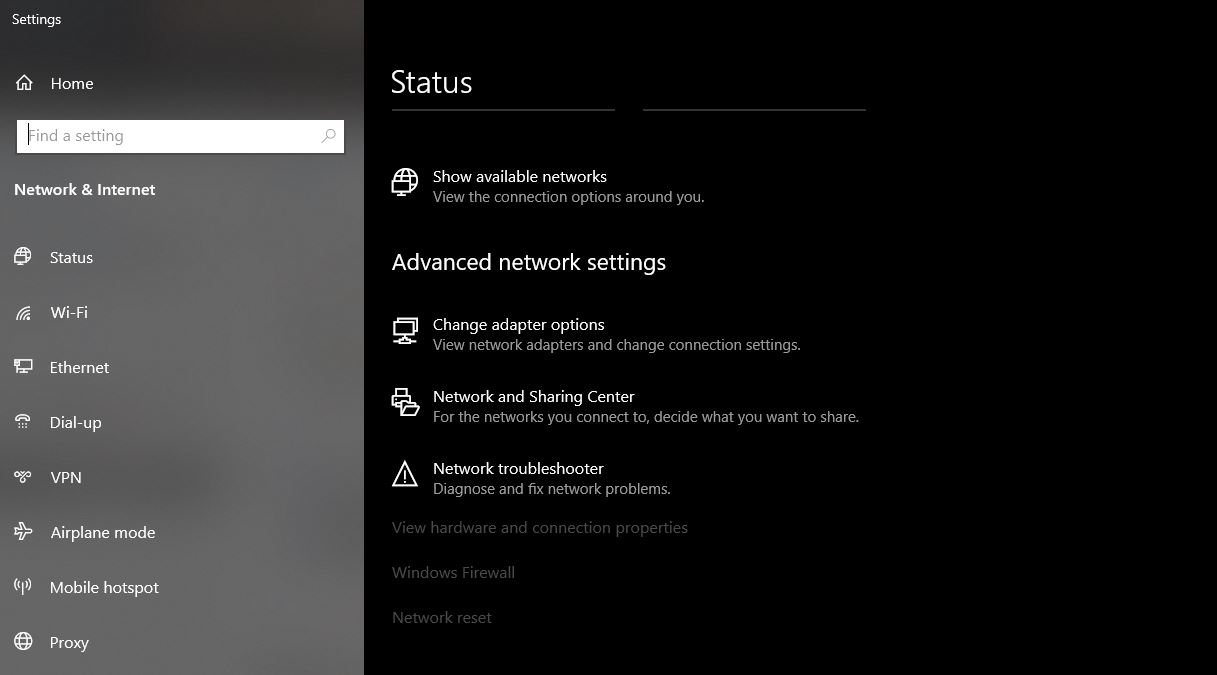
On Windows 11, you can also find the IP address by going to Settings > Network & Internet > Status. You will see the IP address under the Ethernet or Wi-Fi connection.
It's worth noting that if your computer is connected to a network via DHCP (Dynamic Host Configuration Protocol), then your IP address might change.
